
Gardening Tips for Early Spring from ‘The English Lady’

“Those March winds shall blow, and we shall have snow and what will the Robin do then poor thing?
He’ll hide in the barn and keep himself warm and hide his head under his wing.”

March was a month of “wait and see” as we anticipated walking around our gardens. This morning, I walked outside, into a westerly breeze and a gentle sun. I took a deep breath and as I did, I caught the rich fragrance of the soil beginning to awaken.
All of us are itching to get into the garden and I believe that foray will be earlier than last year since frost did not penetrate deep into the ground.
Please wait until April to clear the winter debris from your borders, as beneficial insects like the bees are hibernating there. Bees are our life blood; they pollinate 70% of the world’s food and we are losing them in the millions, due to climate, pollution, poisonous herbicides and insecticides and just human carelessness.
The sodden soil will dry out in the next few weeks, so tread gently on our precious commodity. I also am asking that you do not till the soil, as tilling damages soil structure and can break friable root systems.
Please be patient right now! I know you are chafing at the bit to get your hands into the soil, but, at this moment, continue planning for the upcoming season. Planning means organizing, which helps to prevent costly gardening mistakes during the growing season.
When you go outdoors to take a walk around the garden, check the trees and decide which ones might need pruning. For example, decide which limbs might need to be removed or the canopy lifted to allow more sunshine into a shady area of the garden. Having made some of those decisions, I suggest that you call in an arborist for tree work in March and April before foliage emerges. With a blank canvas, the work will be accomplished faster and is therefore less expensive.
You can use this time to check on broken or dead limbs and which branches require cabling. And if a tree appears to be 50% dead, then it should be removed.
A medium shade area can be changed to a dappled shade area, allowing more sunlight in by thinning out the upper tree branches or tree canopy.
Perhaps you would like a tree removed to transform a shady area to a sunny spot, giving you a larger choice of plants.
I always hesitate to remove a healthy tree, but sometimes a tree has been planted too close to the house which often results in the roots undermining the home’s foundation and the shading over the roof has resulted in mold and mildew.
At this juncture, I must point out that there is an art to tree work in knowing how, when and why to cut. Work on the trees should be carried out by a professional so that at the completion of the work, the effect is both practical and aesthetically pleasing. An experienced arborist will also take into consideration the health of the trees. Also by employing an arborist, you can avoid injury to yourself, from falling from ladders or avoiding tree branches or trees falling on you.
Pruning
Pruning is one task that you may feel you are able to accomplish yourself. Some tips include:
- Hedges can be sheared for shape, so that any stubby ends will be concealed by new spring growth.
- Please keep to the natural shape of the shrub – no round balls.
- Prune Spirea to six inches from the ground.
- In April, prune lavender down to three inches.
- In late March, prune sweet pepper bush (Clethra), cutting out the oldest branches.
- Lilac – Prune back all old branches to various lengths before leaf growth begins, from two to five feet, keeping to a natural shape. Sprinkle lime around the base of the lilac and add manure in May. Lilacs enjoy alkaline soil and benefit from a small amount of lime sprinkled about a foot away from the base of the lilac.
- Prune butterfly bushes to two feet from the ground now and in May apply composted manure around the base.
- Prune forsythia after it has bloomed, pruning out sparse flowering old wood.
- Prune roses when the forsythia blooms. If the roses have only been in the ground for one year, do not prune, wait until October.
Do not remove the protective mulch from around the base of the roses. Wait until mid-May, and then apply a dressing of manure and fine bark mulch, about a foot away from the base of the rose.
You may be asking, “Why wait until May to apply manure?” The answer is that the soil needs to warm up to 55 degrees, otherwise the nutrient benefits of the manure bacteria that work with plant roots and soil organisms are not activated. I suggest you invest in an inexpensive soil thermometer to check the soil temperature. When the soil temperature reaches 55 degrees, apply a 3- to 4-inch layer of composted manure.
Tread carefully
When you have cleared away the debris in April, treading carefully on the soil, make a clean edge to the borders with a sharp spade; this makes such a difference to the look of your garden.
The best tool to use for this task is a sharpened lawn edger. The blade is a half-circle 9 inches wide and 4.5 inches deep with a flat top that creates a deep edge. Face the bed and thrust the edger down to its full depth and push the cut soil into the bed. Continue along the soil edge and then remove the spade and surplus clumps of soil and grass.
Edging was one of the first lessons I was taught at our family nursery in England; my great grandfather was a strict taskmaster standing over me, until I got the edge done to his particularly proper standard.
If you are contemplating locating a new planting bed or expanding an existing one, here are some tips:
- Think about where you spend your leisure time outdoors, and where you may choose to sit, near to the new bed, enjoying the bloom, fragrance and structure of your plantings.
- From indoors are you able to view and enjoy the new border?
- Is it an area where there will not be drainage problems, erosion concerns or water pooling?
- Is it convenient to tend and enjoy where you place a bench or chair?
- Will you be able to water it with relative ease?
For an informal garden I prefer a curved bed – a curved line gives grace and fluidity. Lay out a garden hose in the desired shape and size of bed, adjusting the hose until you are satisfied with the gentle curves.
Manure

When it comes to manure, many of you, who have been my radio listeners and lecture audiences, know how I feel about that wonderful natural product. Manure is not a fertilizer – it builds soil structure, aids in drainage and its bacteria encourage the millions of soil animals below the surface to come alive and work with the manure bacteria to produce nutrients for the roots of the plants.
Types of manure:
Poultry manure – I know the odor can be rather objectionable; however, this manure contains about 2% nitrogen, one of the highest levels in any manure. If you have access to poultry manure, allow it to age for two months and by that time, the odor will have dissipated and then add it to the garden.
Horse manure is about 0.5% nitrogen. If you obtain horse manure from a stable, which has sawdust on its floors – it should be pretty weed free. What I have done in the past is obtain horse and cow manure from stables and farms in April. When you get it home, spread manure out in a flat area (not in a planting bed) then cover it with a tarp for a month. Using this method, the tarp will suffocate the weed seeds and the sun on the tarp encourages the manures to continue to decompose. A week before using the horse and cow manure remove the tarp to allow the sun to further decompose it.
Cow manure is 0.25 % nitrogen and is the most available manure. If you get horse and cow manure from the farm, ask the farmer to give you manure from the bottom of the pile so that it is already partially decomposed.
Compost pile – If you do not have a compost pile, maybe it could go on your list for this season. Vegetable waste from the kitchen, plus grass clippings, and wood pruning can be added to the pile. The high temperature in the compost kills the weed seed and cooks all those other necessary ingredients. The ratio of compost and manure for your garden is 1 part compost to 3 parts manure – but if you do not have compost – manure will do the trick.
**DO NOT apply fresh manure to the garden, as it will burn the plants. If you do not have a source of manure from a farm, purchase composted manure in bags from the garden center.
In order to produce the best-planting environment, resulting in a soil that is ‘black gold’, apply three inches of composted manure to all planted areas in May, July and October.
Natural fine bark Mulch can be added later in May, the benefits of this mulch is that it helps to retain the beneficial moisture in the soil and aids to retard weeds. Regarding weeds, I also use a natural product, Bradfield Organics, which is a corn gluten weed pre-emergent, which keeps weeds sprouting for a few weeks.
Please do not use cocoa mulch, which is poisonous to dogs and cats, also do not use the chemically colored red mulch.
The Humus Component
I know I have written about the importance of the humus component for the soil but I feel I must continue to stress this fact.
In your own garden you can build and retain a rich growing environment by building the humus component as outlined last month. We are all carbon-based creatures as is all life on earth. Not only humans but also our soil microbes need carbon to flourish. To attract carbon from the atmosphere into your soil you need to build the humus component when the soil has reached a temperature of 55 degrees. If the soil has not reached that temperature, the soil organisms are not able to work with the bacteria in the manure to produce nutrients for the roots of the plants.
This year, as we have not experienced deep frost, the soil temperature may therefore reach 55 degrees by the end of April or early May.
Once again, I’m getting a little ahead of myself. So back to a cloudy day right now, when you may gradually begin to remove protective covering from shrubs and small trees. In exposed garden areas, where wind is a problem, leave the covering on until mid April. Cold wind is more damaging and drying to plants than extreme cold and frost.
Frost Heave
If some perennials, trees and shrubs have heaved out of the ground, cover the roots with fresh topsoil or mulch until mid May when they can be settled back in place.
I just walked around the corner of my house to check on my trellis on the chimney where I have roses and clematis planted together. Roses and clematis are a delightful combination in a companion planting. This planting method means that the rose and the clematis planted together have the same growing requirements, “feet in the shade and heads in the sun.” Beginning in May, add manure and mulch around the base of both. Discontinue feeding roses and clematis in mid-August; this enables both plants to go into a necessary slow dormancy.
Raking and Aerating
When the lawn has dried out in April, rake lightly to remove excess debris such as leaves and dead twigs. Raking gently raises the mat of the lawn, which enables the emerging grass to breathe. Aerating machines are useful to develop a healthy lawn. Puncture holes with the aerator which pulls out plugs of soil every four to six inches; following this treatment, root development takes off and thatch is reduced. Do not use large thatching machines, as these machines damage the grass.
Grass
In April, apply organic fertilizer, lime and organic grub control before the grass begins to grow. Reseed bare or sparse spots after gently loosening the soil, liming and fertilizing, then cover the seed with salt hay to keep the seed warm and to prevent wind from blowing the seed away. Water the seed for the first three weeks. Do not blast the area with water, which scatters the seeds. As with lilacs, grass enjoys alkaline soil which is why we use lime together with fertilizer and grub control.
Moles
To keep the mole population to a minimum in your garden; apply organic grub control once a month from March for two months which results in less food for the moles. When you see signs of moles, find the mole holes and insert Exlax, which contains senna, an organic herb. The moles eat the Exlax and become dehydrated from defecation and die.
Apply organic pre-emergent crabgrass killers in March and April.
Voles
Spread castor oil around the base of plants and keep mulch away from the base of the plants so that voles, which are canny creatures, are not able to hide there and gnaw on plants and roots.
Deadhead
Do not cut off the leaves of the crocus as they bloom; the leaves make food for the bulbs for next season’s bloom.
Daffodils
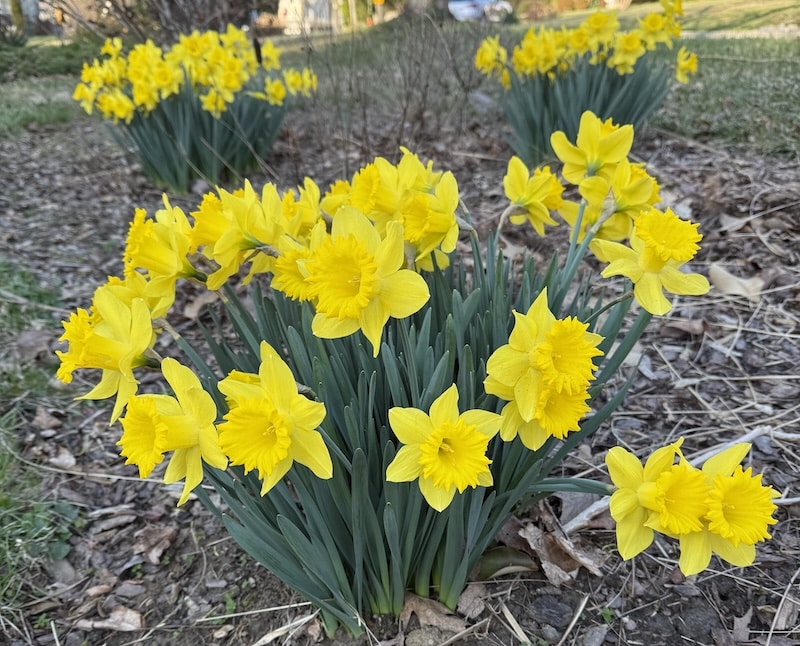
When the green shoots emerge, spread composted manure around the plants.
For daffodil displays indoors, cut the stems at an angle before adding daffodils to an arrangement, and leave them in a vase half filled with lukewarm water for a couple of hours. This is because the stems release a sap like “goop” that harms other flowers. Discard that water and add the daffodils to the other flowers. If you recut the stems you will need to repeat the process. Change the water in the vase often.
Perennials
In May when perennials are about four inches above soil level and when the soil is 55 degrees, apply composted manure around them to encourage healthy growth.
Dividing Plants
At the end of April or beginning of May, you can divide late blooming perennials that have been in the ground for four years or more; these new divisions encourage stronger bloom.
Discard the older inner parts of the clumps and plant the new outside portions. Do not plant the new divisions any deeper than they were originally in the ground.
When dividing irises, barely cover the root system so they do not fall over. If irises are planted too deep in the soil, they will not bloom.
March or early April are the time to plant the following seeds indoors: gaillardia, salvia, marigold, zinnia, petunia, snapdragon, stock and verbena. Before planting these seeds, soak them in warm water and plant them in sphagnum moss or coir. Coir is the outer shell or fiber of the Coconut, either of these two mediums prevents a disease called “damping off”, which can cause seeds to rot before germination.
Cover pots and seed trays loosely with plastic wrap, which creates a mini greenhouse, providing moisture which seeds require to germinate.
NOTE: Remove the plastic once the seeds have germinated, as the soil needs to drain and needs air circulation around the emerging stems.
If you are going away on business or on vacation, reapply the plastic wrap over the pots and trays and prop some sticks or skewers in the corners. While you are away the seedlings will stay moist, and the sticks or skewers ensure that the seedlings do not encounter the plastic.
Dormant Spring Spraying
Spraying of fruit trees, flowering cherry, crabapples, hawthorn, mountain ash and lilac can be done before the leaf buds open. Call a professional company and request that they use only organic products.
Houseplants
Repot them if they need repotting in April.
If you brought geraniums indoors at the end of last season, check them for new side shoots, then cut them back to four inches and repot them in clean pots about an inch and a half larger with fresh potting soil.
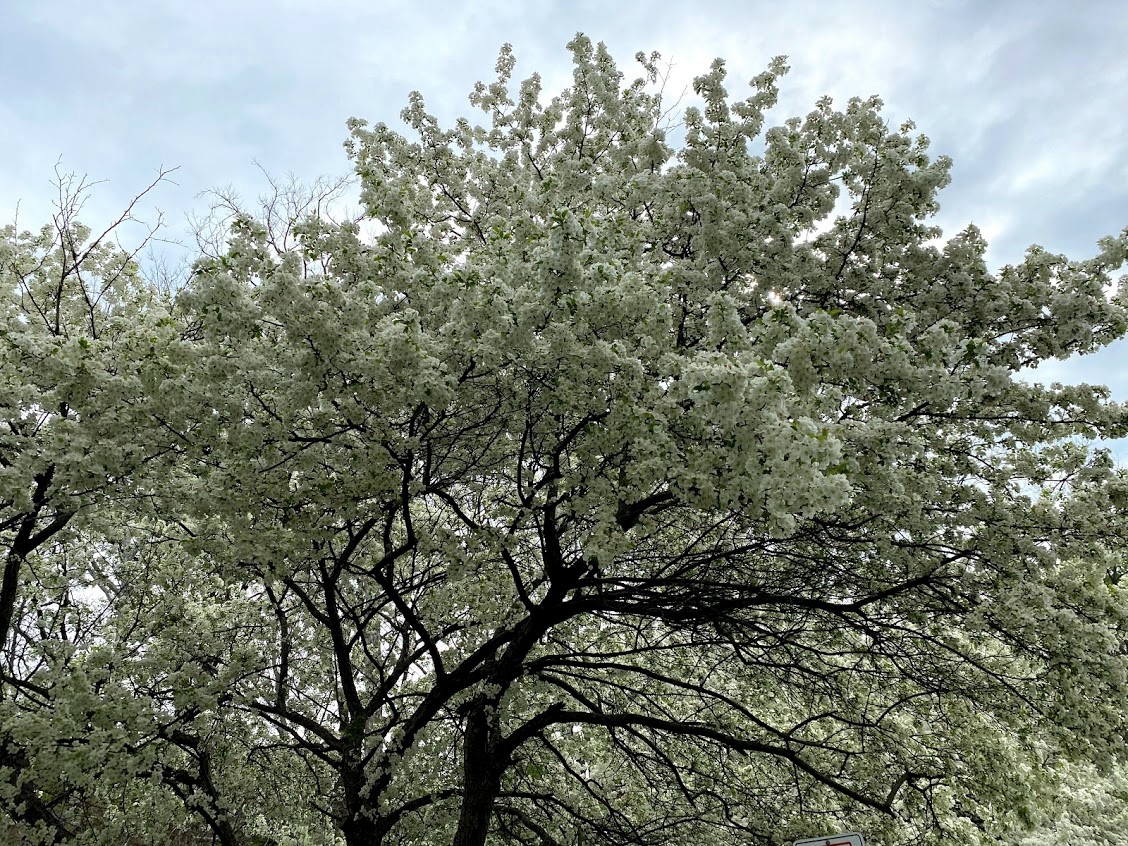
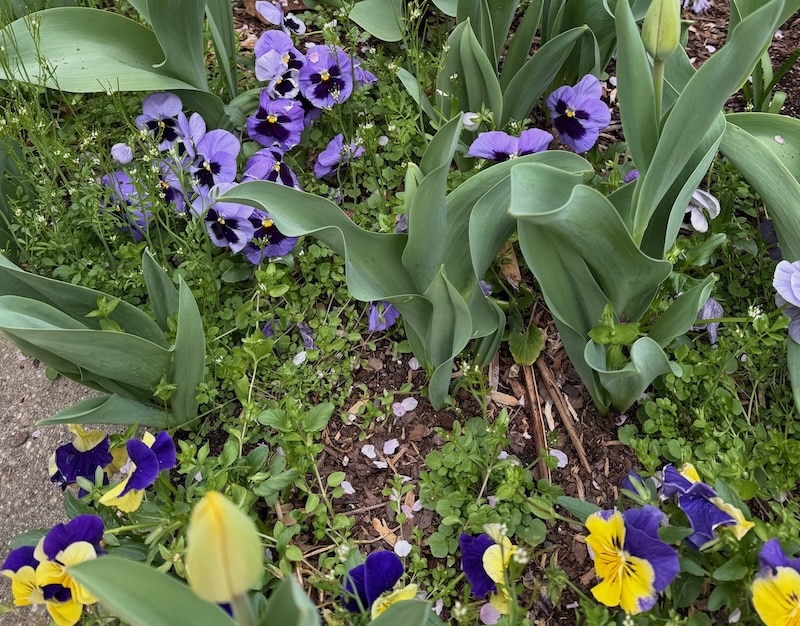
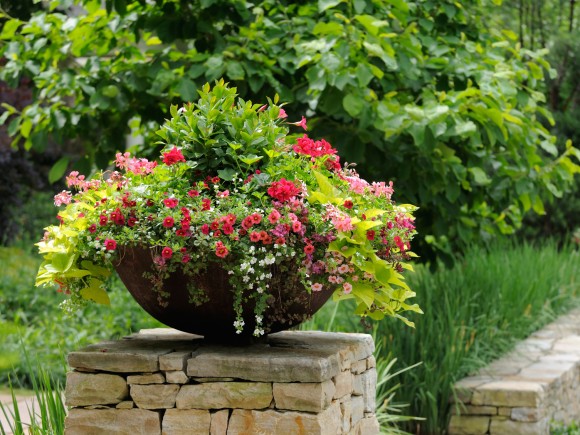
Well, fellow gardeners, I know you are getting excited to be in your gardens this season and I hope that these tips have given you plenty to think about to keep you busy for a while. Enjoy photos of lovely gardens that my son Ian has designed. If you wish, contact him for a consultation at landscapesbyian.com.
Enjoy being outdoors in spring sunshine and I look forward to seeing you in your garden in April.
About the author: Maureen Haseley-Jones is a member of a family of renowned horticultural artisans, whose landscaping heritage dates back to the 17th century. She is one of the founders, together with her son Ian, of, The English Lady Landscape and Home Company. Maureen and Ian are landscape designers and garden experts, who believe that everyone deserves to live in an eco-conscious environment and enjoy the pleasure that it brings. Maureen learned her design skills from both her mother and grandmother, and honed her horticultural and construction skills while working in the family nursery and landscape business in the U.K. Her formal horticultural training was undertaken at the Royal Botanic Gardens at Kew in Surrey.
Author

Related Articles

Talking Transportation: The DMV Is Judging You
Six characters may not seem dangerous, but in the wrong order your choice of vanity plates may pose a serious threat to public morality. Or so says the DMV.
Talking Transportation: Snow, Salt and Unplugged Promises
Columnist Jim Cameron, calling snowstorms a test of Connecticut’s transportation system, gives high marks for highway clearing while faulting local streets and rail platforms.
Talking Transportation: Winter Travel Tips to Beat Cold, Snow – and Connecticut’s Roads and Rails
Jim Cameron delivers helpful tips, fun facts and one piece of particularly timely advice: Sometimes the smartest winter travel decision is not traveling at all.